
|
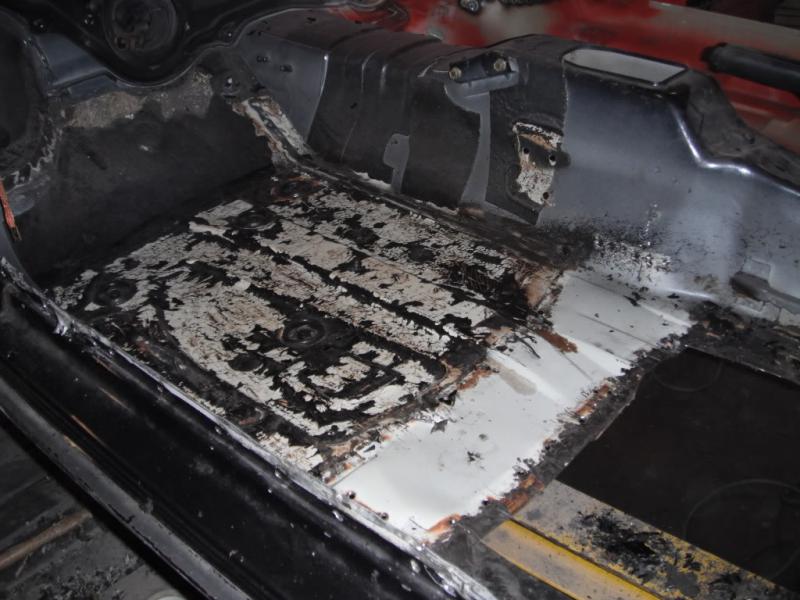
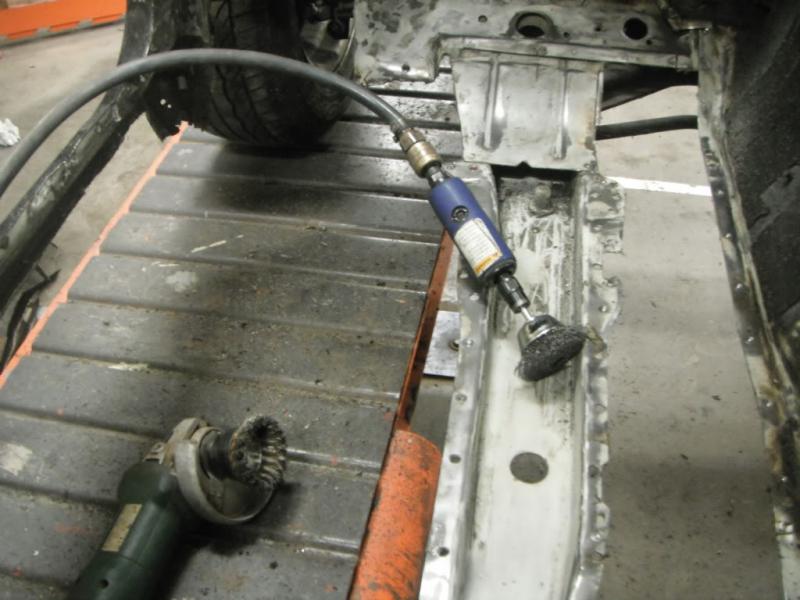
Hallo, Bin wieder da :winke: Linkse Seite... http://www.golf3.de/images/imported/2015/10/272.jpg Austrennen... http://www.golf3.de/images/imported/2015/10/273.jpg Mehr... :P http://www.golf3.de/images/imported/2015/10/274.jpg und mehr... http://www.golf3.de/images/imported/2015/10/275.jpg Alles sauber machen : http://www.golf3.de/images/imported/2015/10/276.jpg Auch unten... http://www.golf3.de/images/imported/2015/10/277.jpg Diese Seite auch epoxy... http://www.golf3.de/images/imported/2015/10/278.jpg |
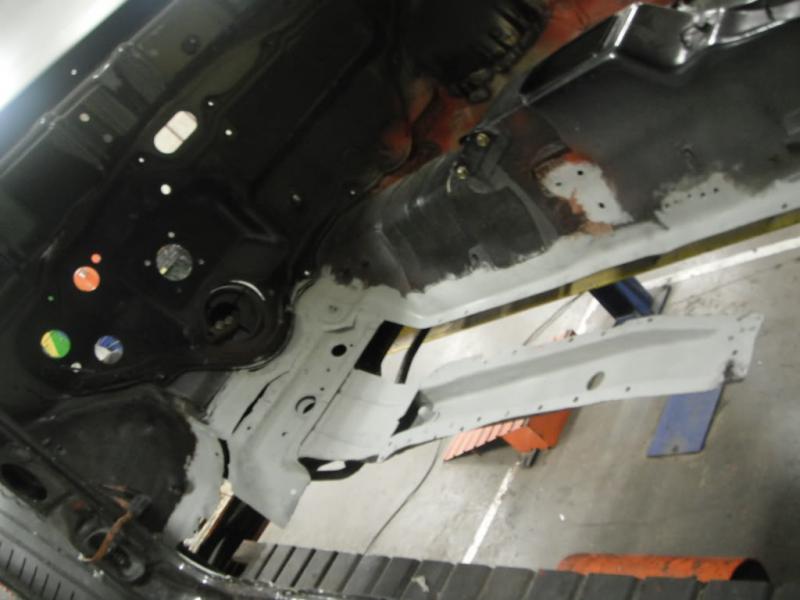
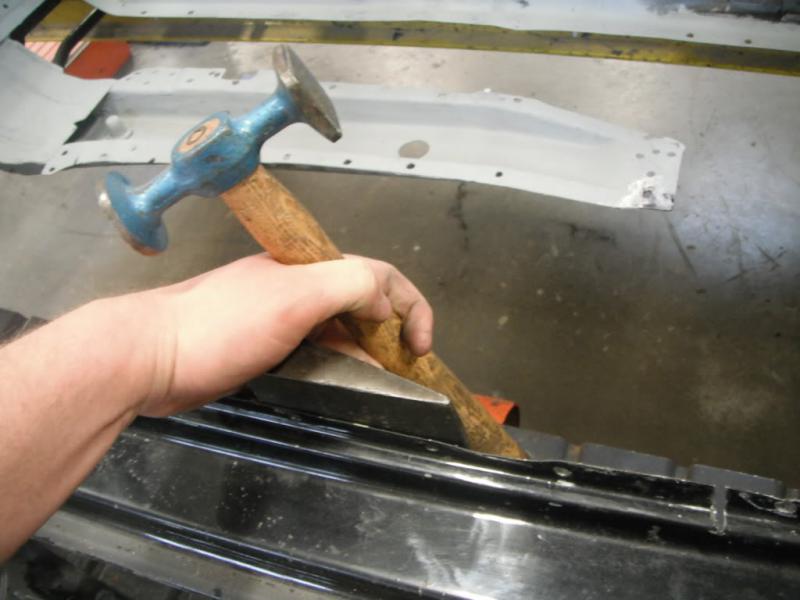
Alles wieder Gerade machen... http://www.golf3.de/images/imported/2015/10/279.jpg Selbste Arbeit als Rechtse seite... Innere Schweller... schweissprimer & schweissen http://www.golf3.de/images/imported/2015/10/280.jpg http://www.golf3.de/images/imported/2015/10/281.jpg Test im Auto : http://www.golf3.de/images/imported/2015/10/282.jpg http://www.golf3.de/images/imported/2015/10/283.jpg |
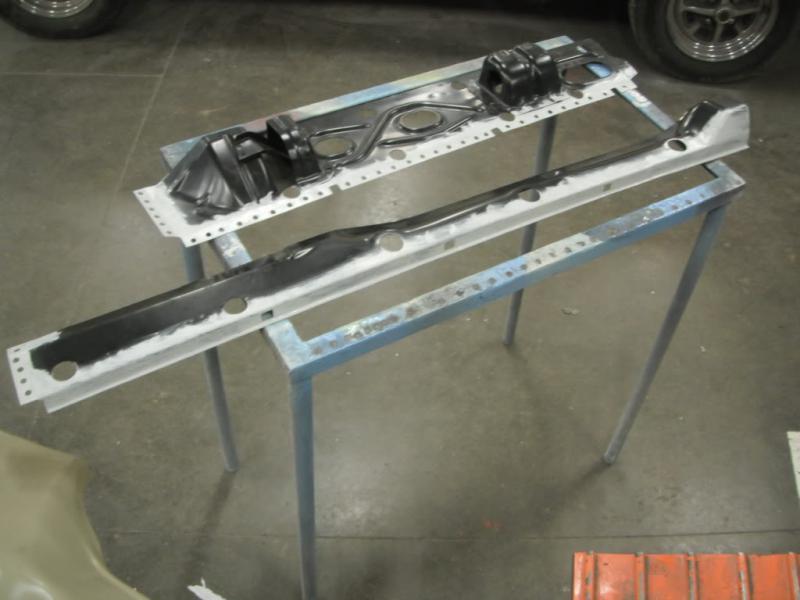
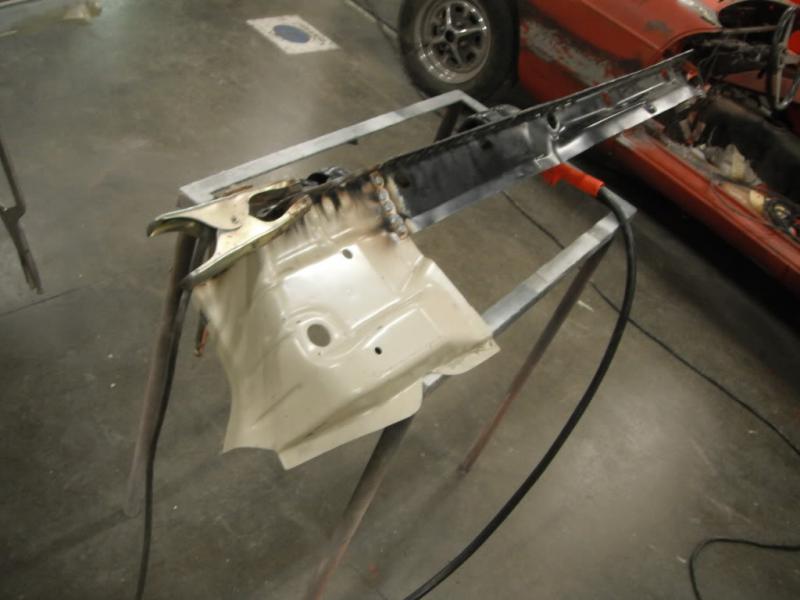
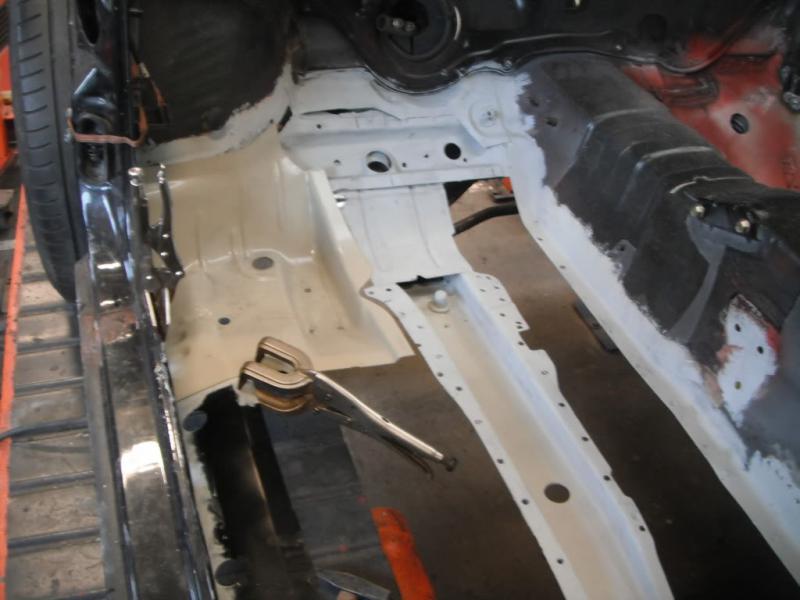
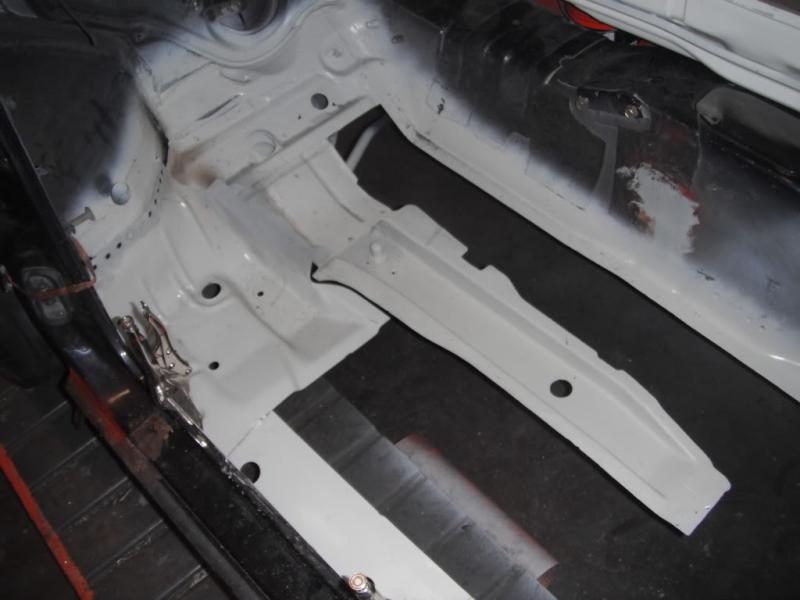
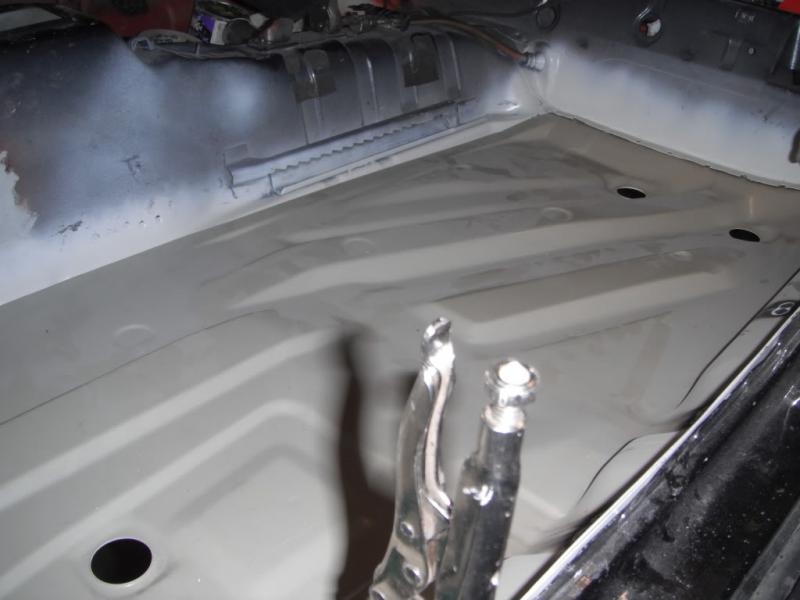
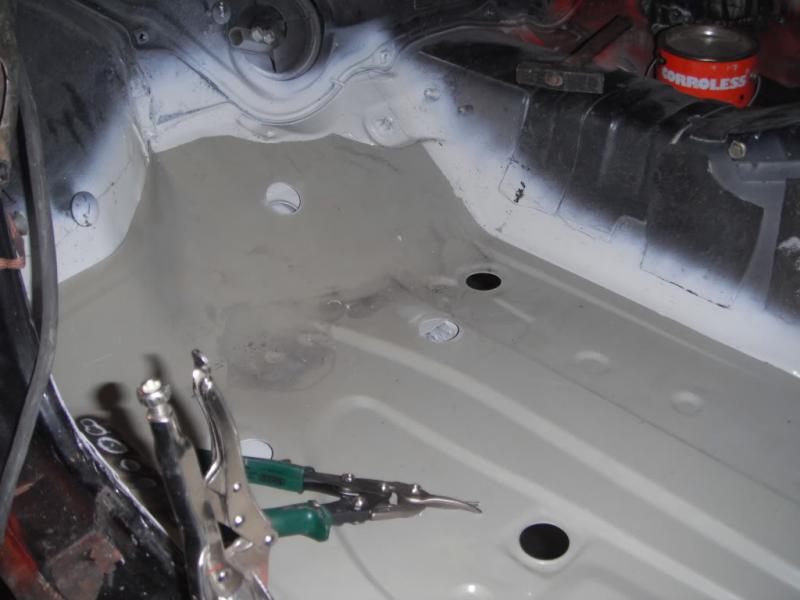
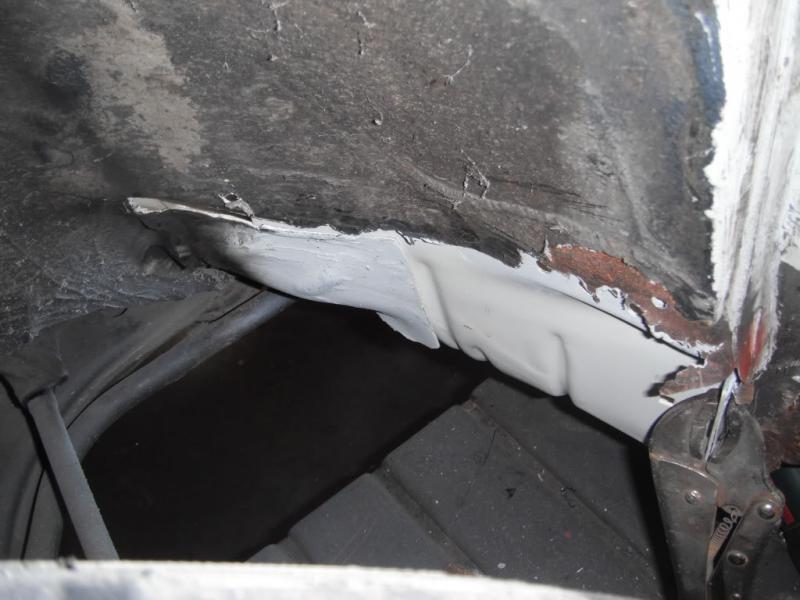
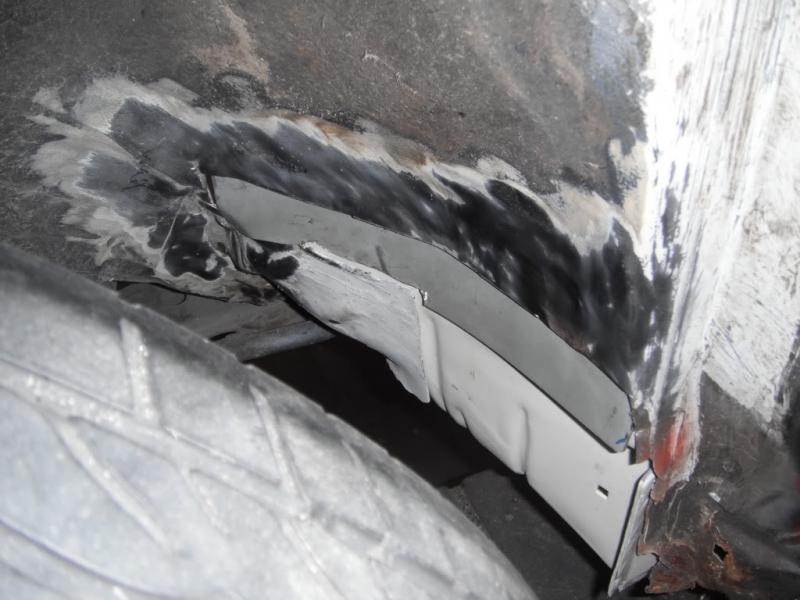
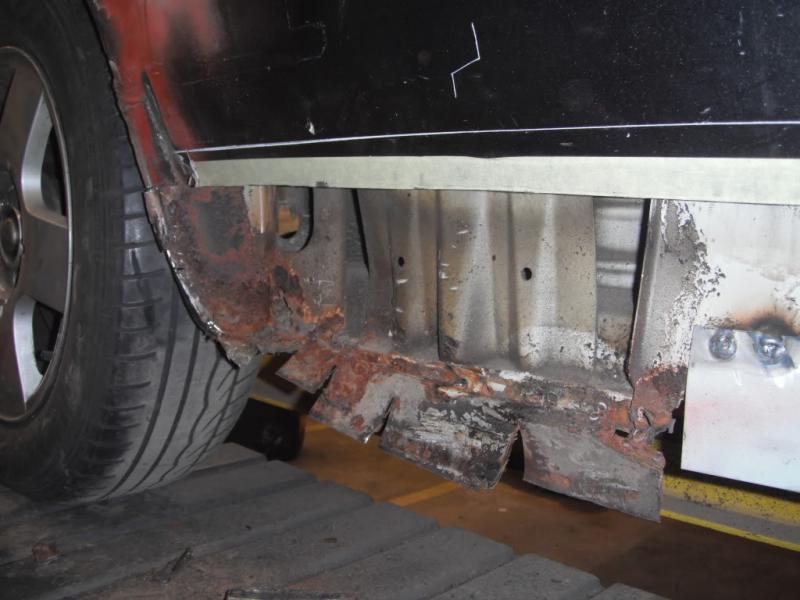
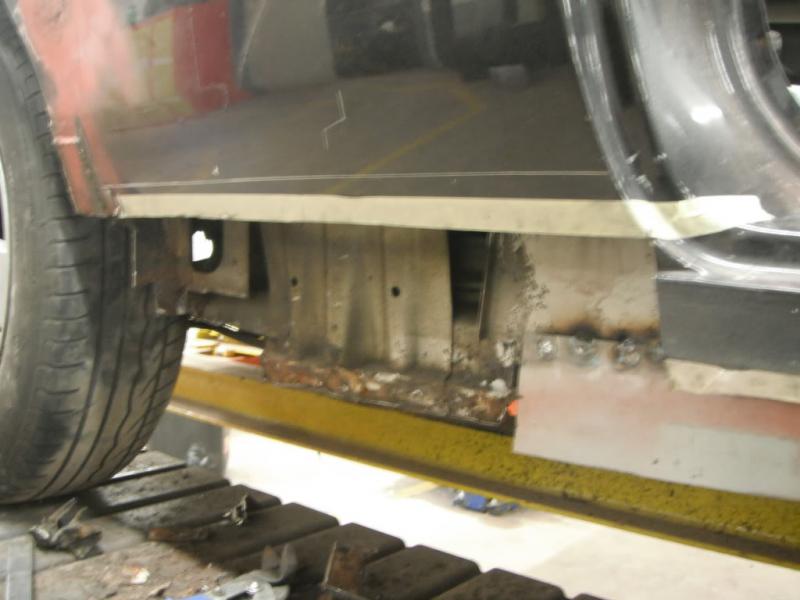
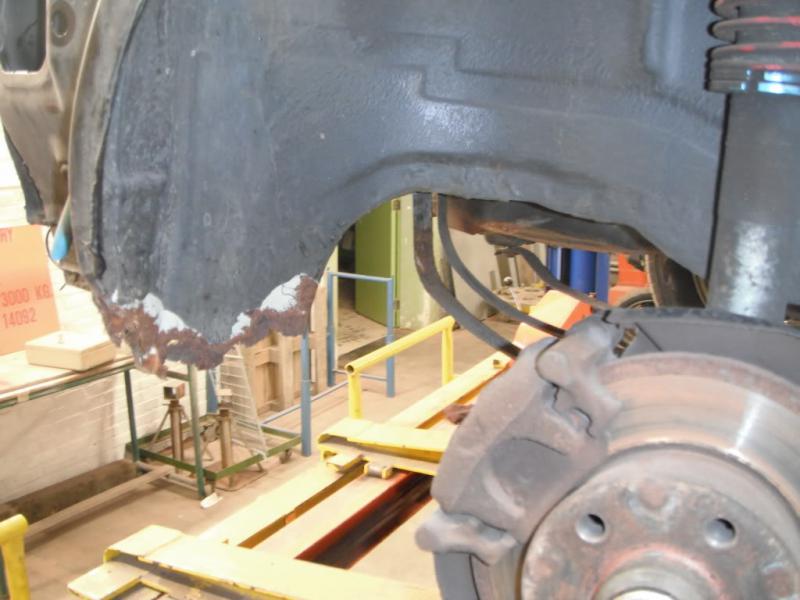
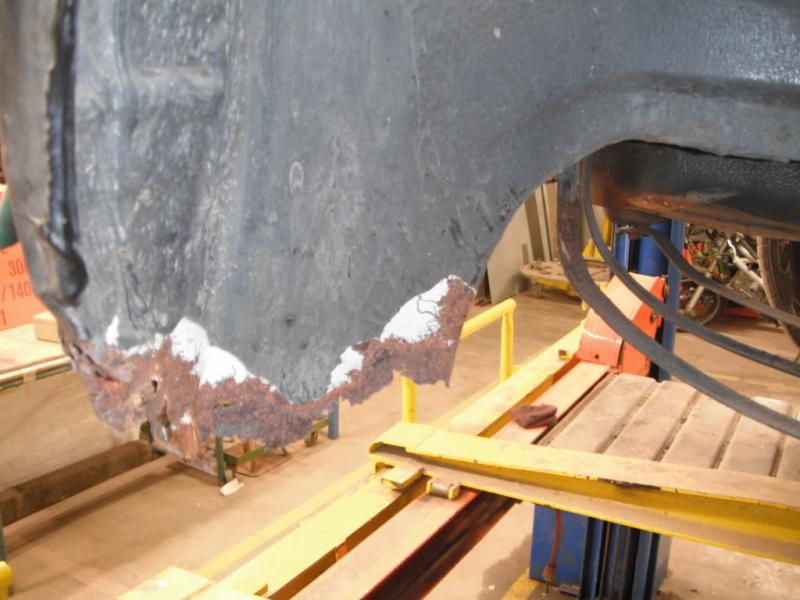
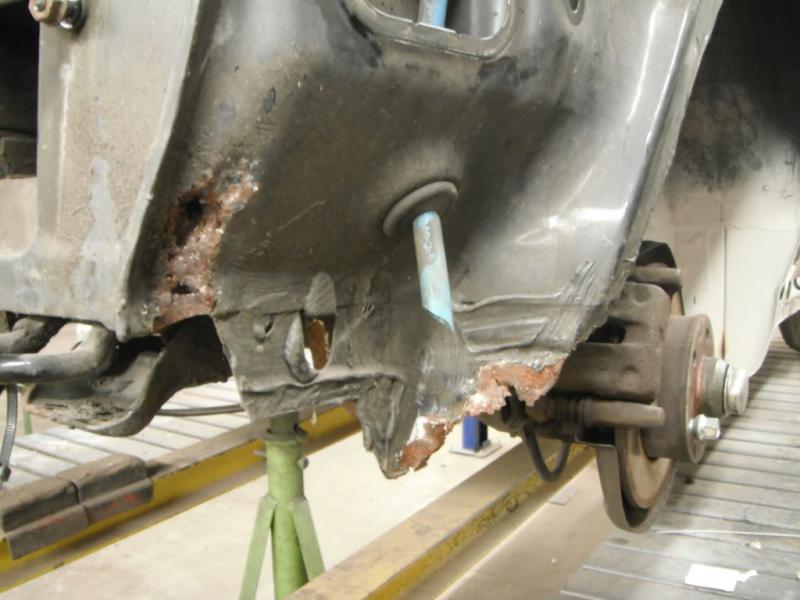
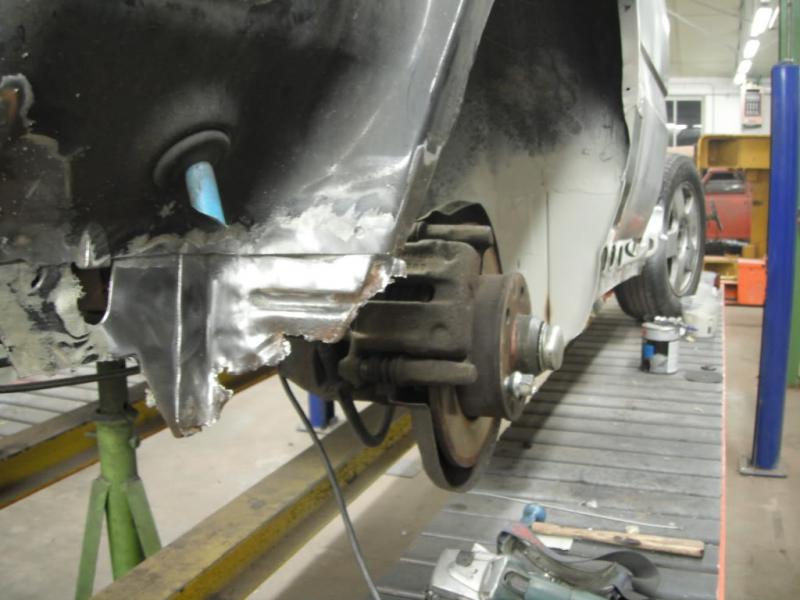
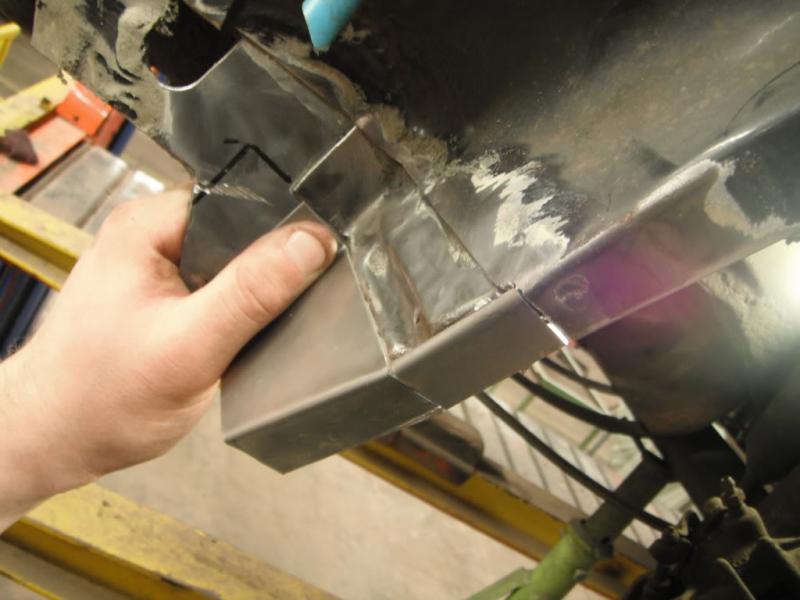
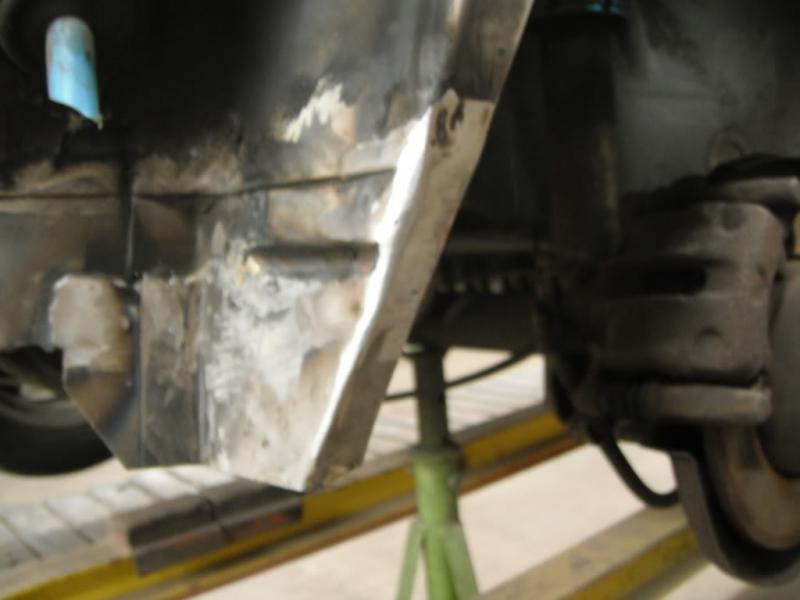
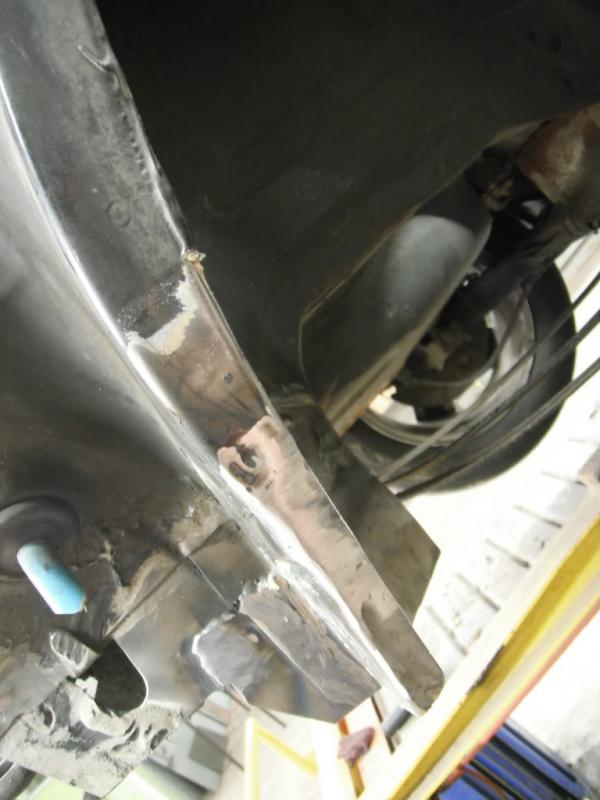
Aufnahme in epoxy & eingeschweisst http://www.golf3.de/images/imported/2015/10/284.jpg http://www.golf3.de/images/imported/2015/10/285.jpg flur probieren ;) http://www.golf3.de/images/imported/2015/10/286.jpg http://www.golf3.de/images/imported/2015/10/287.jpg Rost im Radhaus reparieren : http://www.golf3.de/images/imported/2015/10/288.jpg http://www.golf3.de/images/imported/2015/10/289.jpg http://www.golf3.de/images/imported/2015/10/290.jpg |
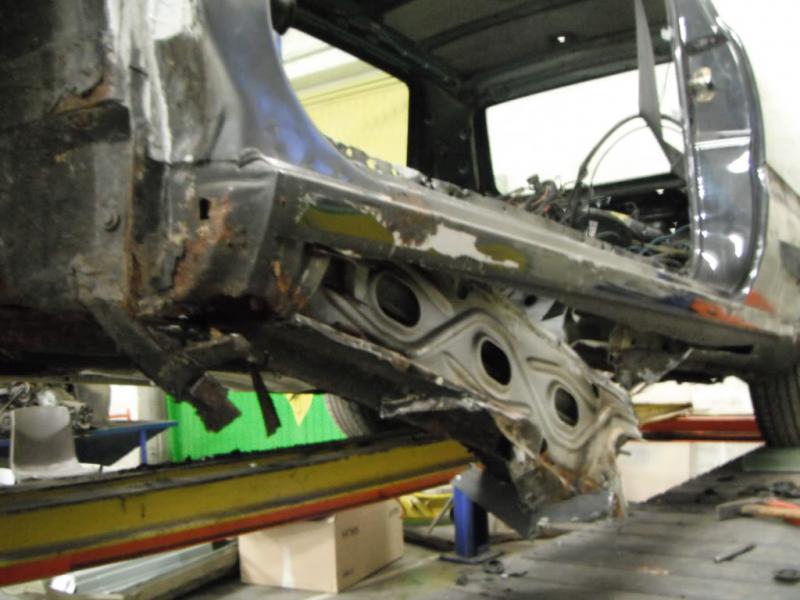
Ich glaube das toppt alles was ich bis jetzt an Blechreparaturen am 3er gesehen habe. |
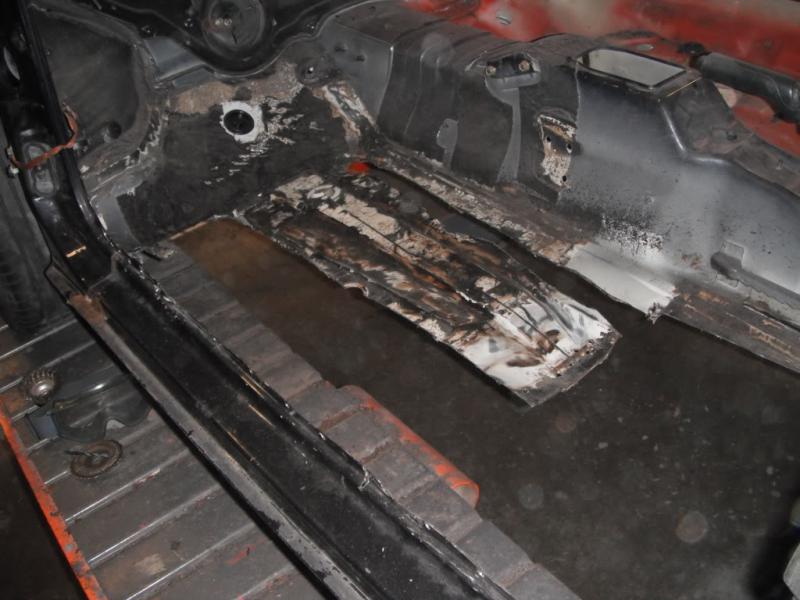
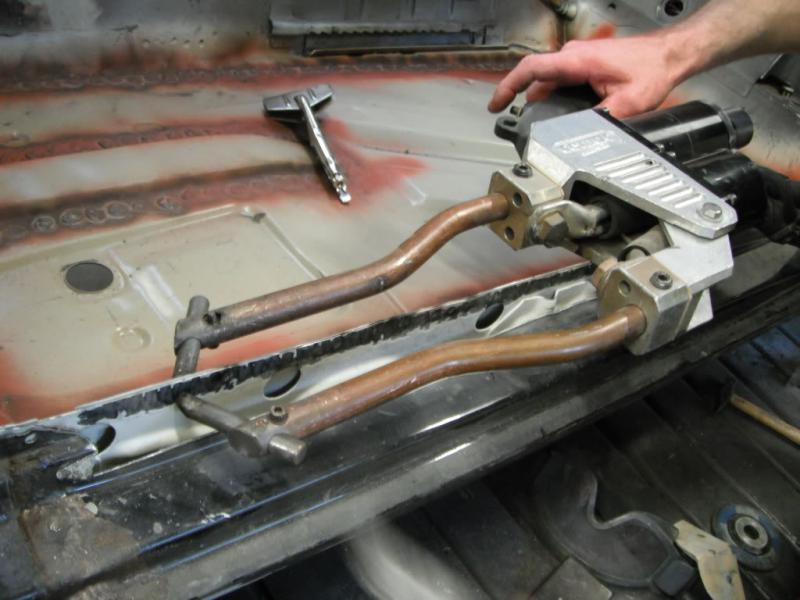
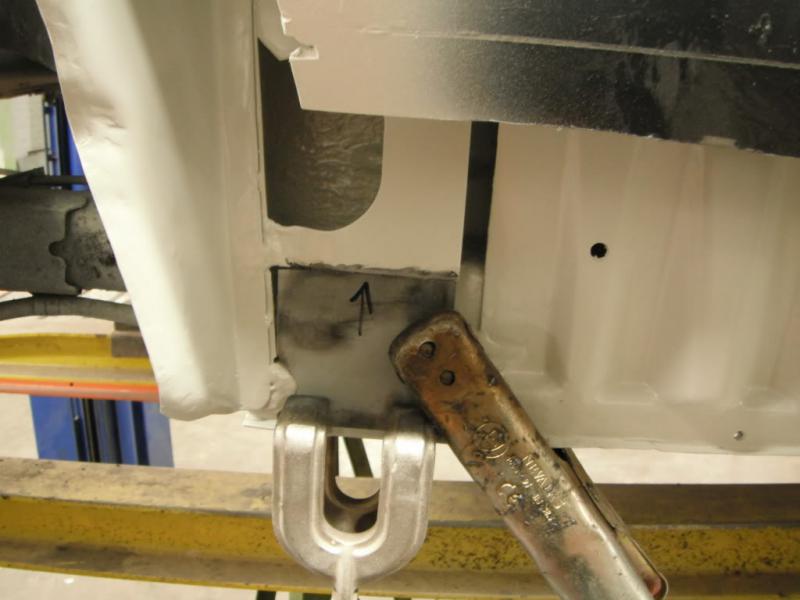
Locher bohren... http://www.golf3.de/images/imported/2015/10/295.jpg Und wieder schweissen :P http://www.golf3.de/images/imported/2015/10/296.jpg mehr... http://www.golf3.de/images/imported/2015/10/297.jpg http://www.golf3.de/images/imported/2015/10/298.jpg Extra reparatur... http://www.golf3.de/images/imported/2015/10/320.jpg |
it looks like your building a new car.. my greatest respect for your work! please keep on with the great documentation, i love reading this! |
Ich ziehe meinen Hut! Respekt! |
Respekt vor der Arbeit. Und sehr schöne Doku :) |
Und ich jammer Rum wegen meinem Loch am Heckbleck:D Respekt! Sauberer Arbeit mach weiter so! |
Einfach Hammer, sowas kann wirklich nicht jeder :D Respect |
Danke allen für die schöne Kommentaren !!! :danke: |
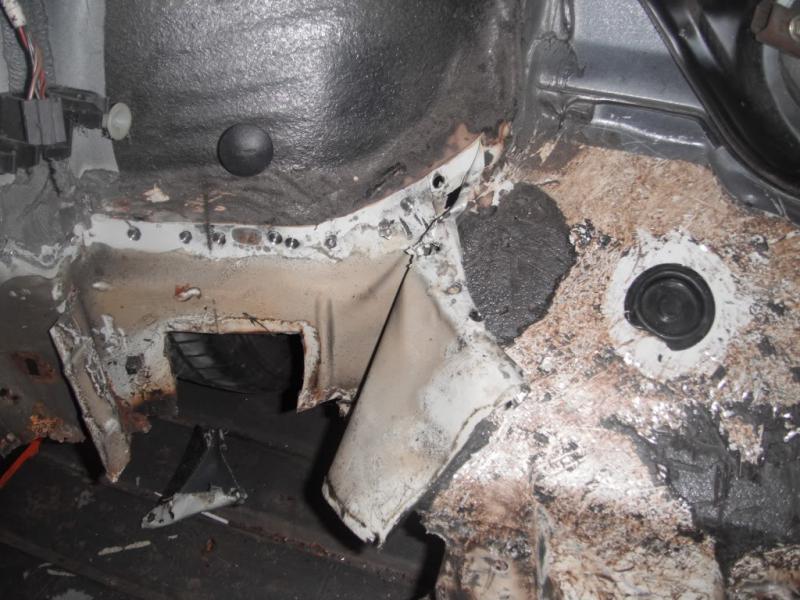
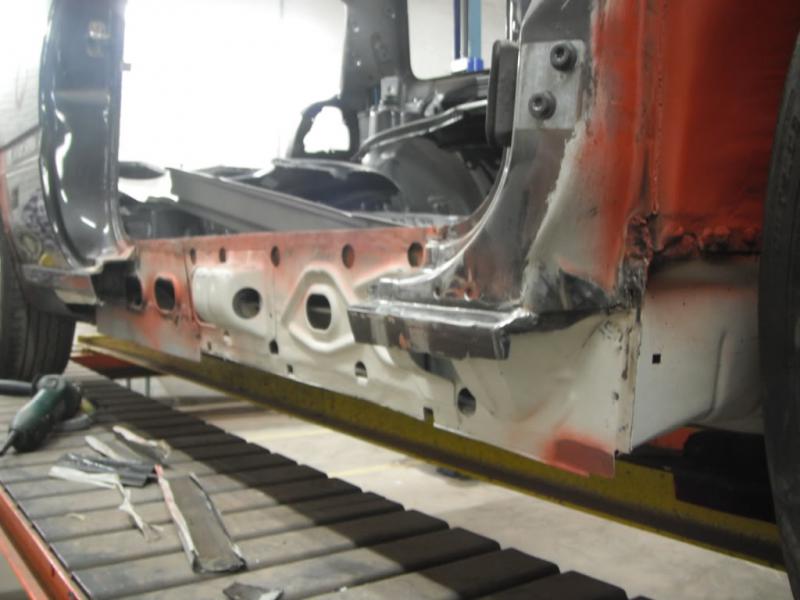
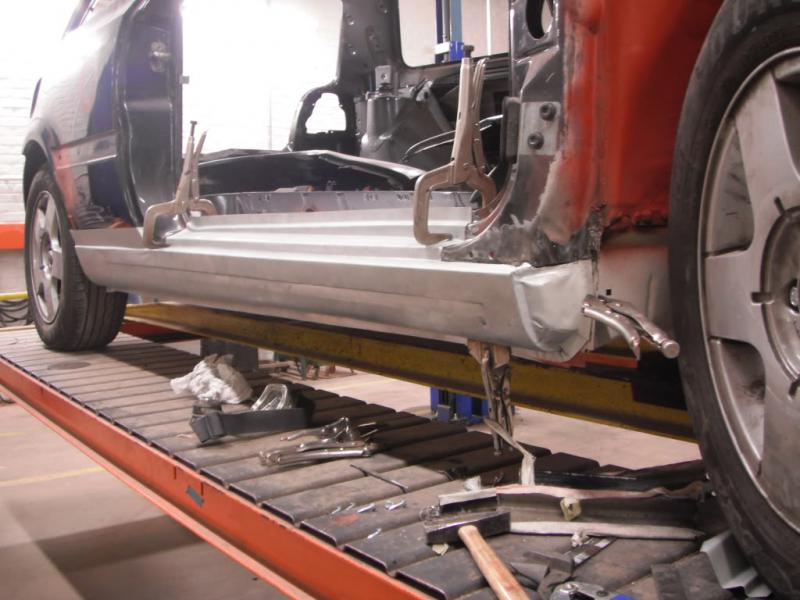
Bodenplatte festgemacht an innere Schweller : http://www.golf3.de/images/imported/2015/10/321.jpg Dann, aussere Schweller raus getrennt : http://www.golf3.de/images/imported/2015/10/322.jpg Alles sauber machen, rostschutzen und kleine "basis" stehen lassen fur neue Schweller : http://www.golf3.de/images/imported/2015/10/323.jpg Verzinkte Schweller probieren : http://www.golf3.de/images/imported/2015/10/324.jpg |
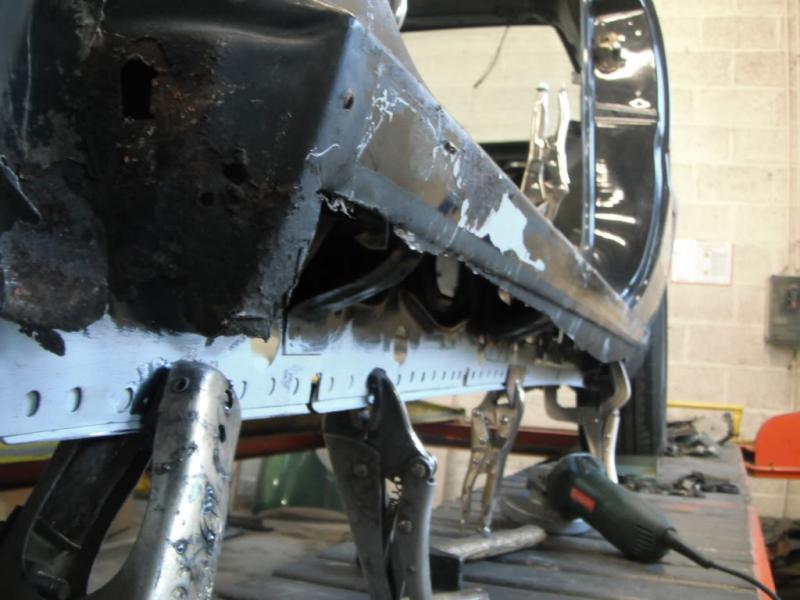
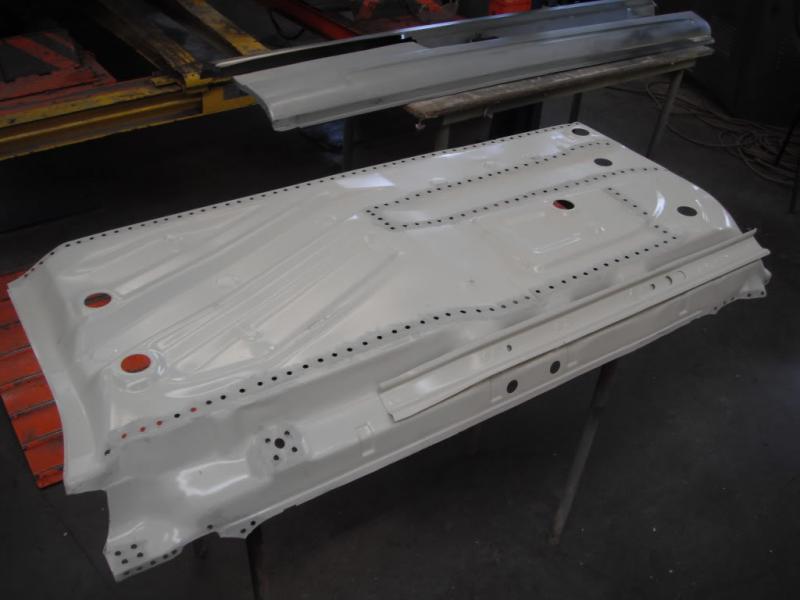
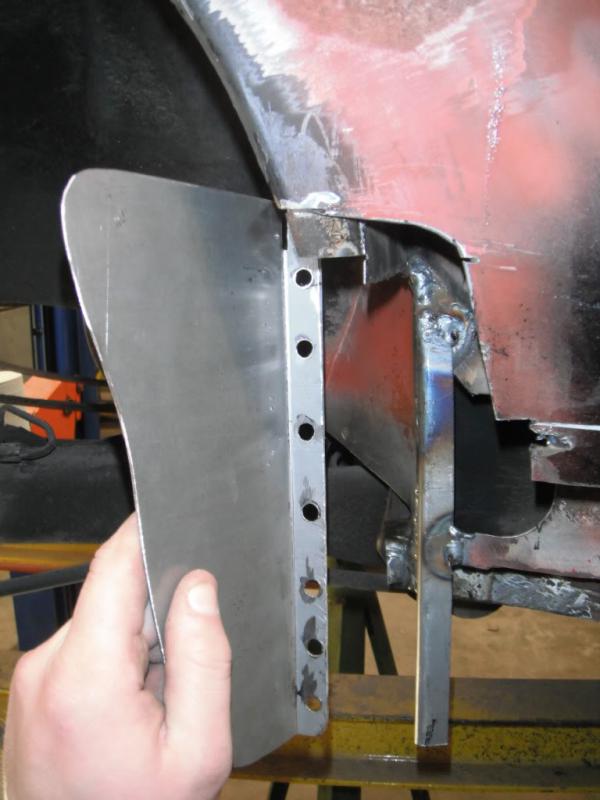
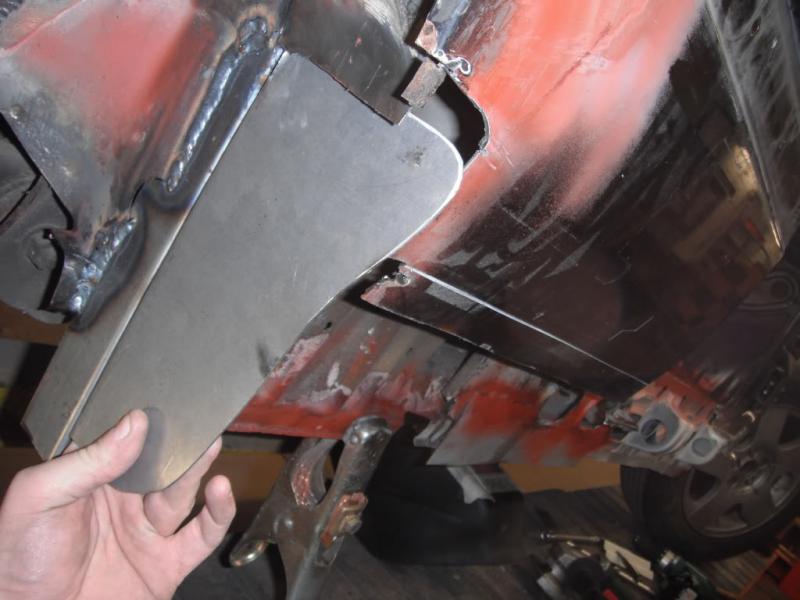
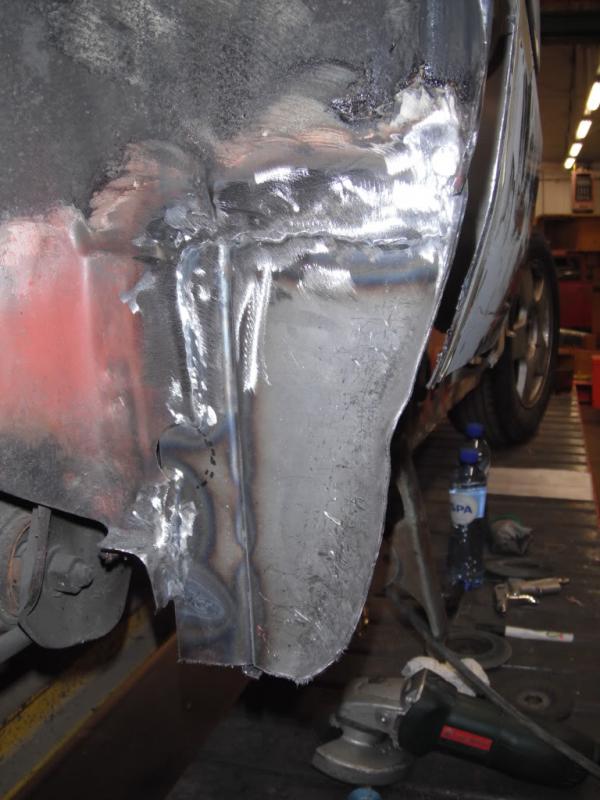
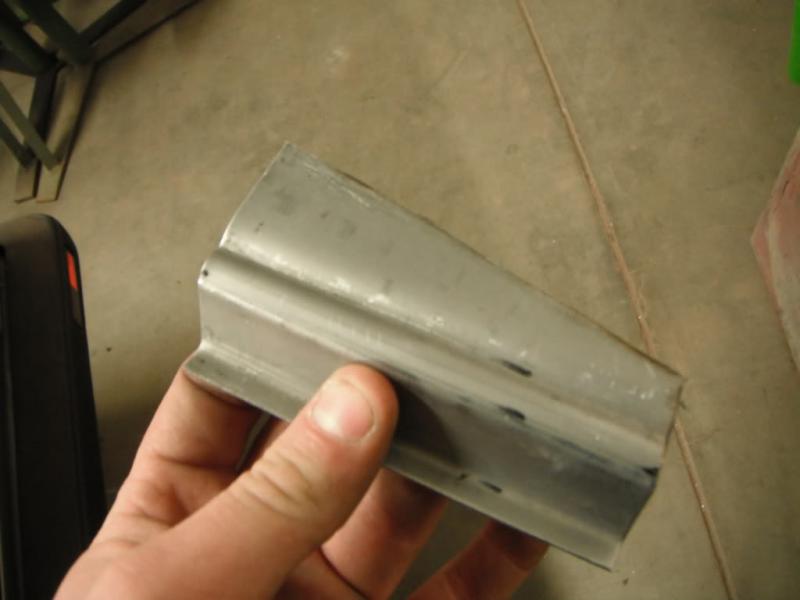
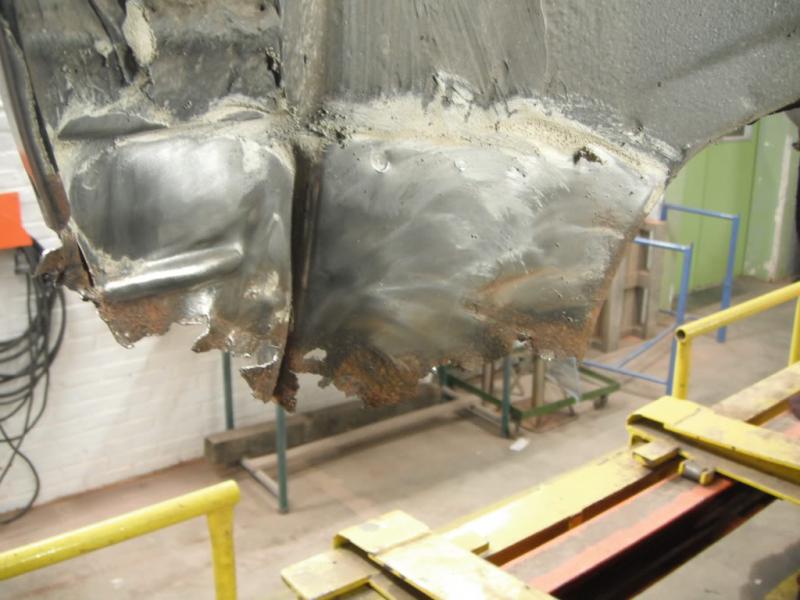
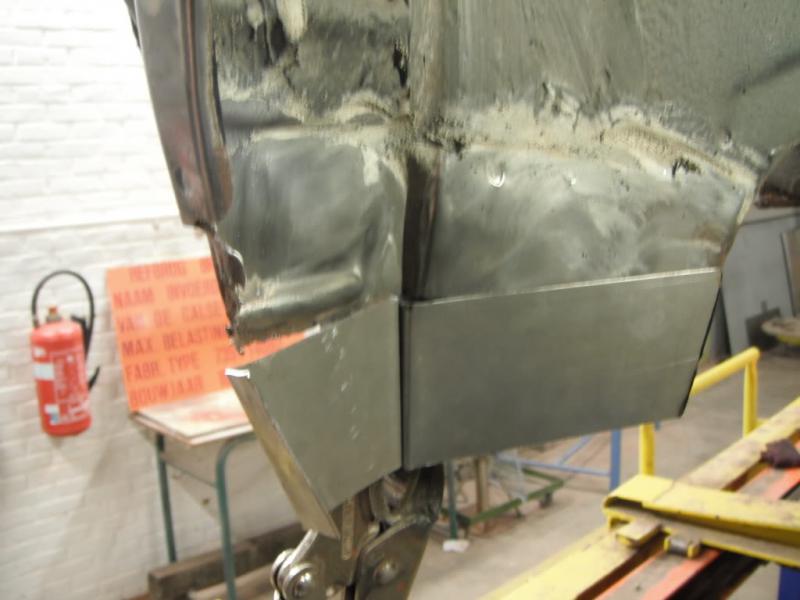
Und dann... Schweller wieder entfernt für Instandsetzung von dieses.... Jaaaa ROST ! :grummel:: http://www.golf3.de/images/imported/2015/10/330.jpg http://www.golf3.de/images/imported/2015/10/325.jpg Rausflexen : http://www.golf3.de/images/imported/2015/10/326.jpg Neue teile selbst gemacht , in 2 stück, mit linien wie Original : http://www.golf3.de/images/imported/2015/10/327.jpg http://www.golf3.de/images/imported/2015/10/328.jpg http://www.golf3.de/images/imported/2015/10/329.jpg |
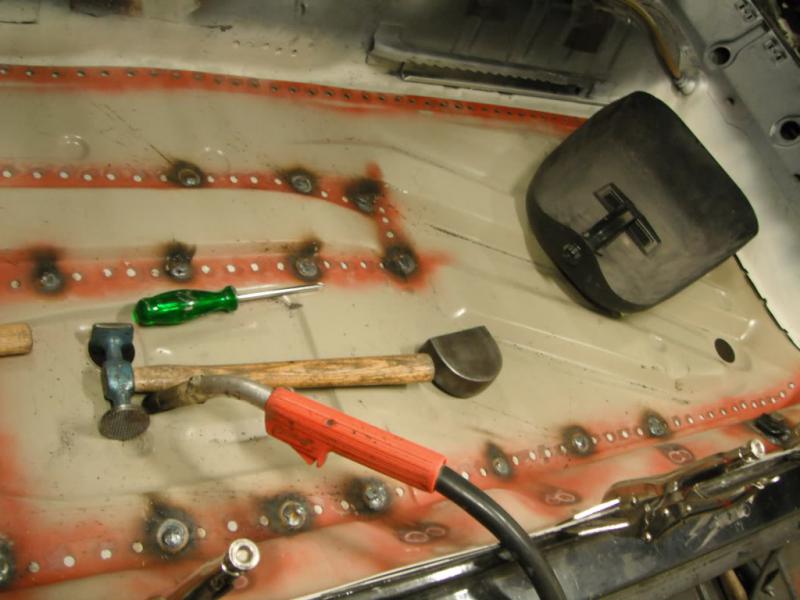
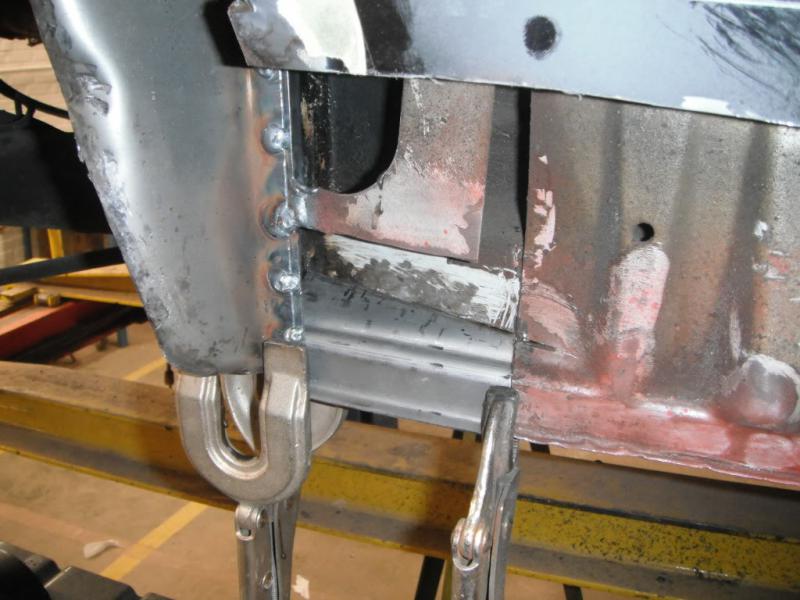
Weitere Reparatur, Teil wieder selbst gemacht : http://www.golf3.de/images/imported/2015/10/331.jpg http://www.golf3.de/images/imported/2015/10/332.jpg EP primer : http://www.golf3.de/images/imported/2015/10/333.jpg Nächste Blechteil rein : http://www.golf3.de/images/imported/2015/10/334.jpg |
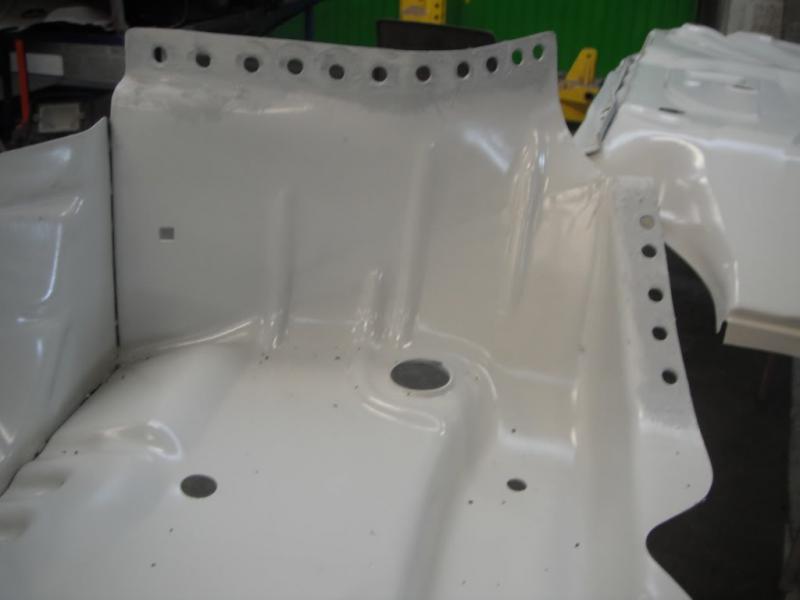
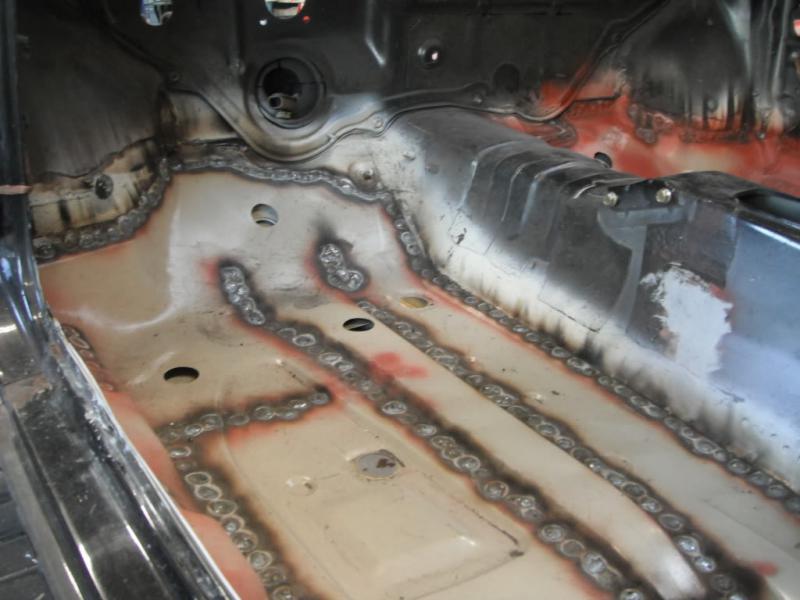
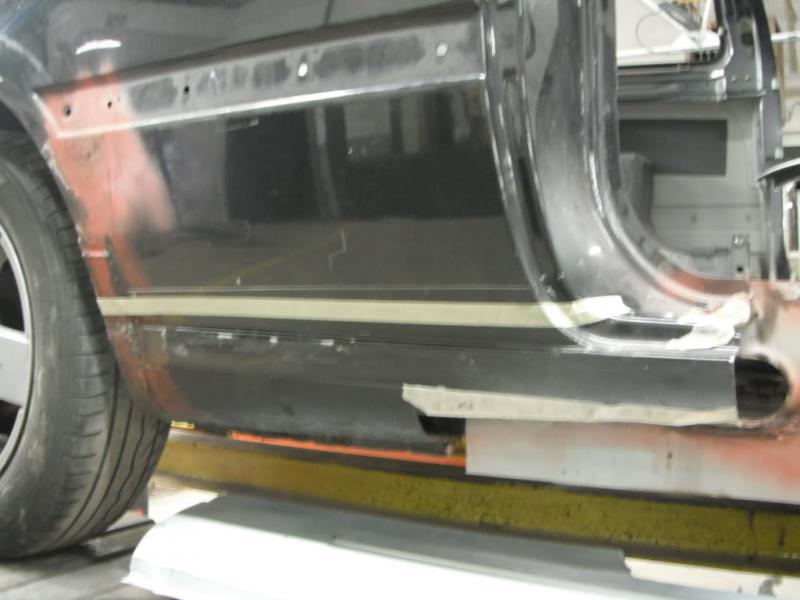
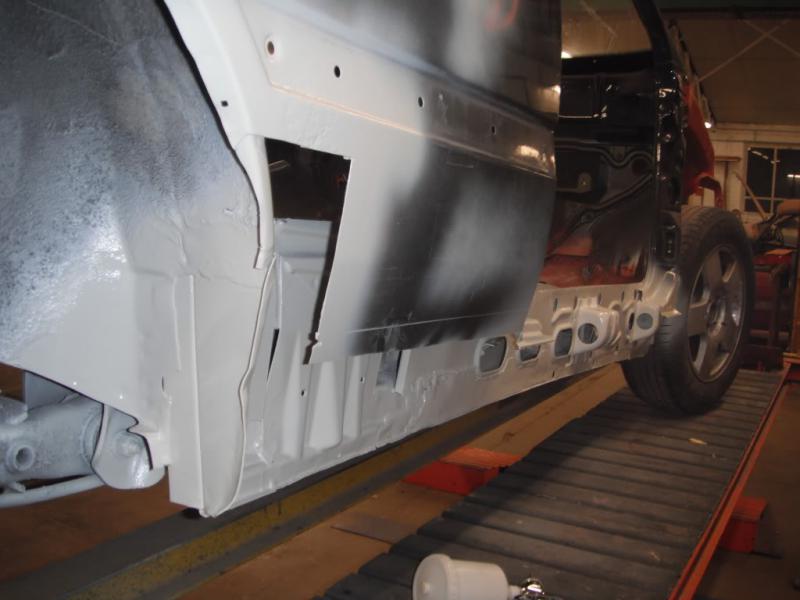
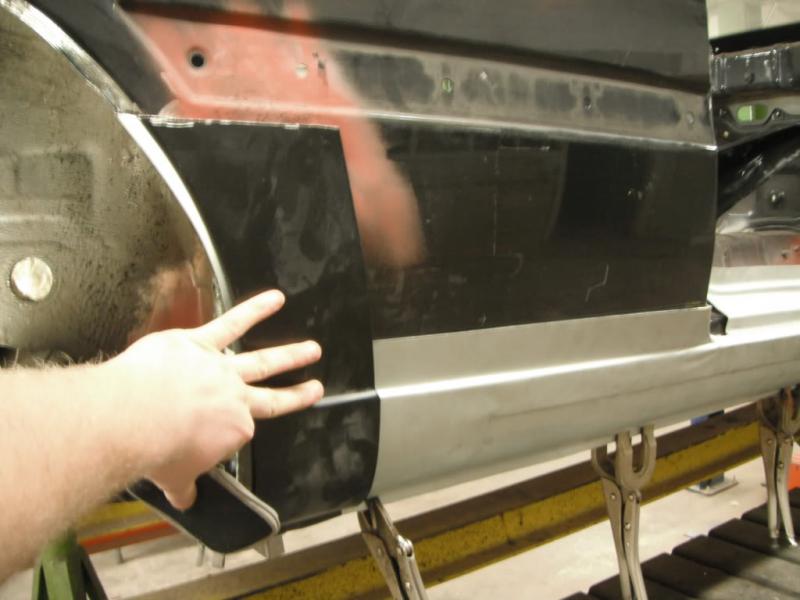
Alles passt... :cool2: http://www.golf3.de/images/imported/2015/10/350.jpg Weiter... Heckseite... Mein Freund, Herr ROST ! :rofl: http://www.golf3.de/images/imported/2015/10/335.jpg http://www.golf3.de/images/imported/2015/10/336.jpg http://www.golf3.de/images/imported/2015/10/337.jpg Sauber machen... http://www.golf3.de/images/imported/2015/10/338.jpg http://www.golf3.de/images/imported/2015/10/339.jpg Rost rausflexen und neue Blechteile anfertigen : http://www.golf3.de/images/imported/2015/10/340.jpg http://www.golf3.de/images/imported/2015/10/341.jpg Nach Schweissen & nachbearbeitung : http://www.golf3.de/images/imported/2015/10/342.jpg http://www.golf3.de/images/imported/2015/10/343.jpg |
Unglaubliche Arbeit ! |
Wow, da hast du dir aber auch den rostigsten 3er ausgesucht den du finden konntest? :P |
Zitat:
Ich finde das echt Wahnsinn wie du den wieder her richtest. Das ist mal echt eine Top Arbeit die du machst. |
Ich beneide dich um dein hervorragendes, handwerkliches Geschick! Echt super.:respekt: |
Hammer! ich stell dir meinen 3er hin, was willst du haben? :D |
| Alle Zeitangaben in WEZ +2. Es ist jetzt 19:58 Uhr. |
Powered by vBulletin®